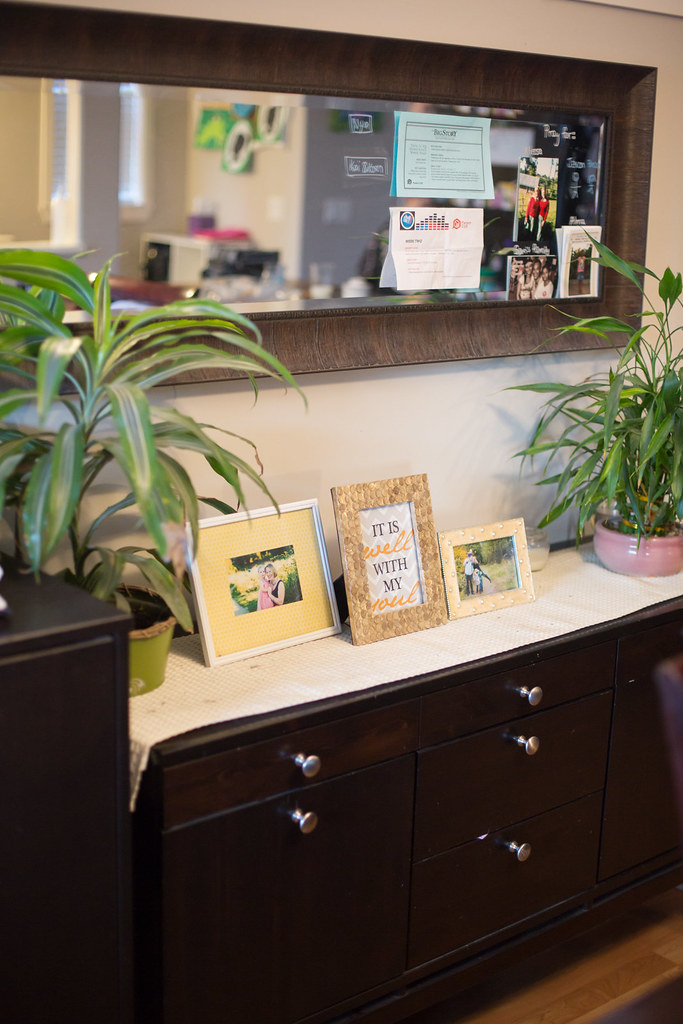
We've had the same set up in our kitchen for years and I always thought it looked fine but it wasn't practical. Our kitchen isn't huge so we need to use space wisely. This was the previous set up:
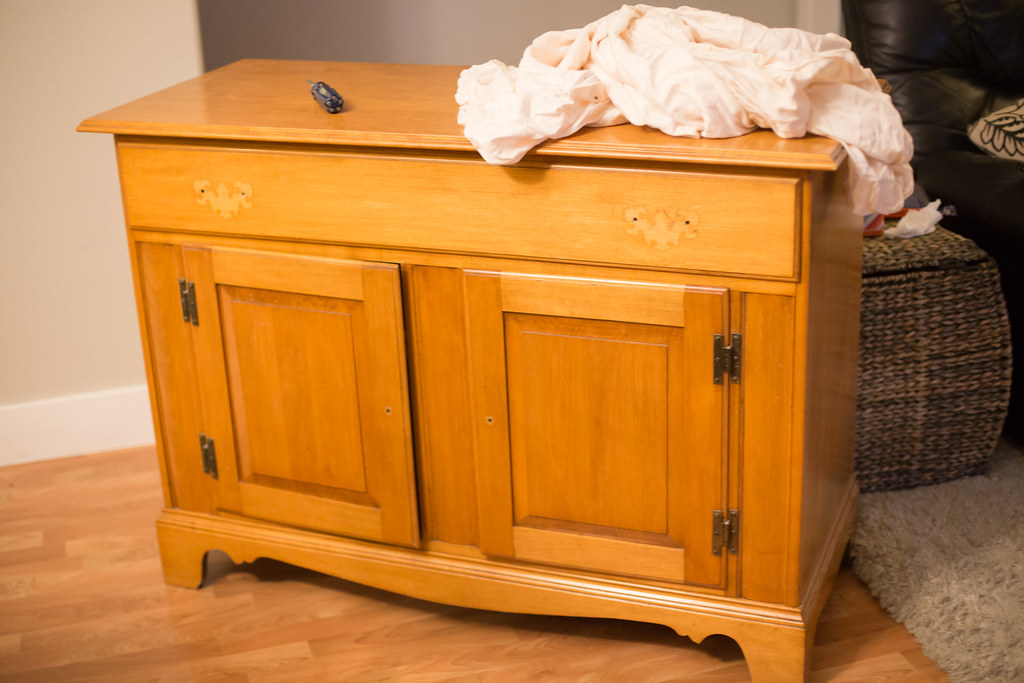
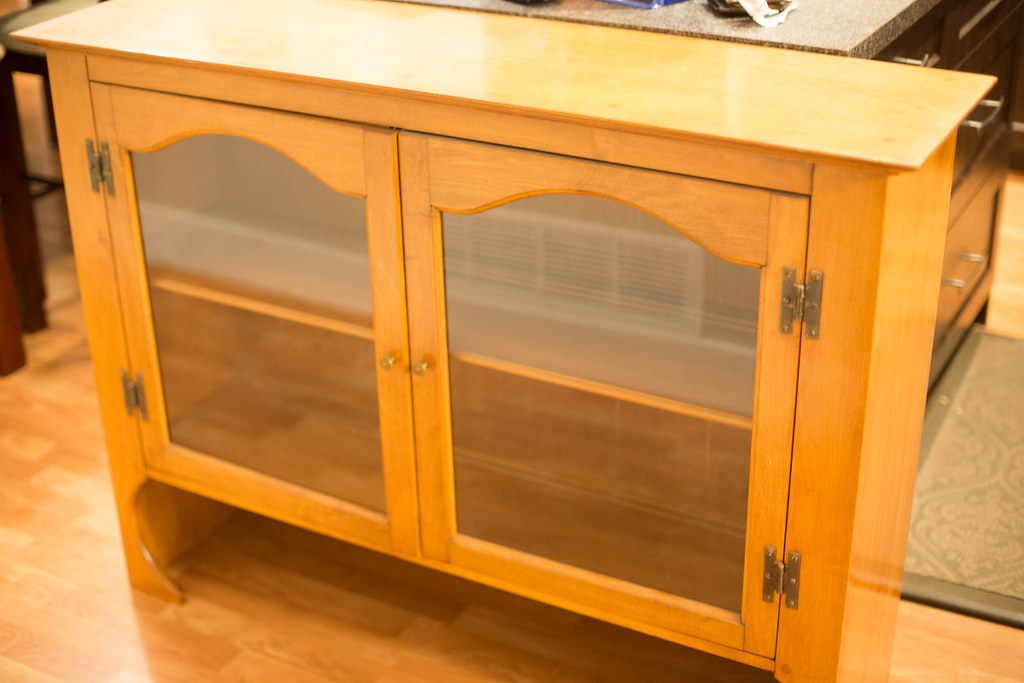
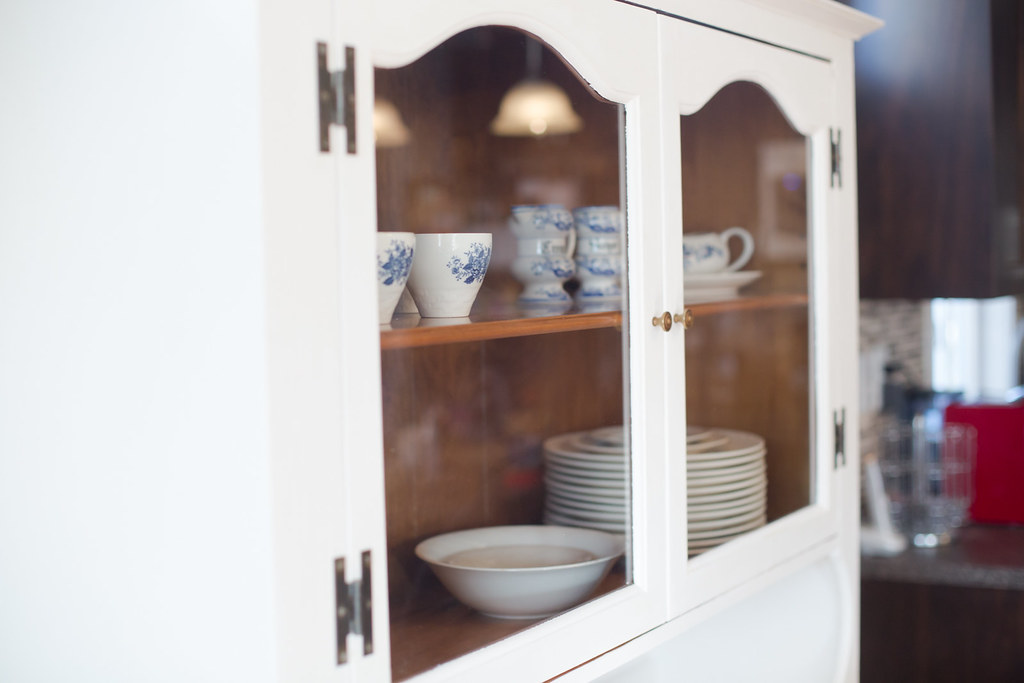
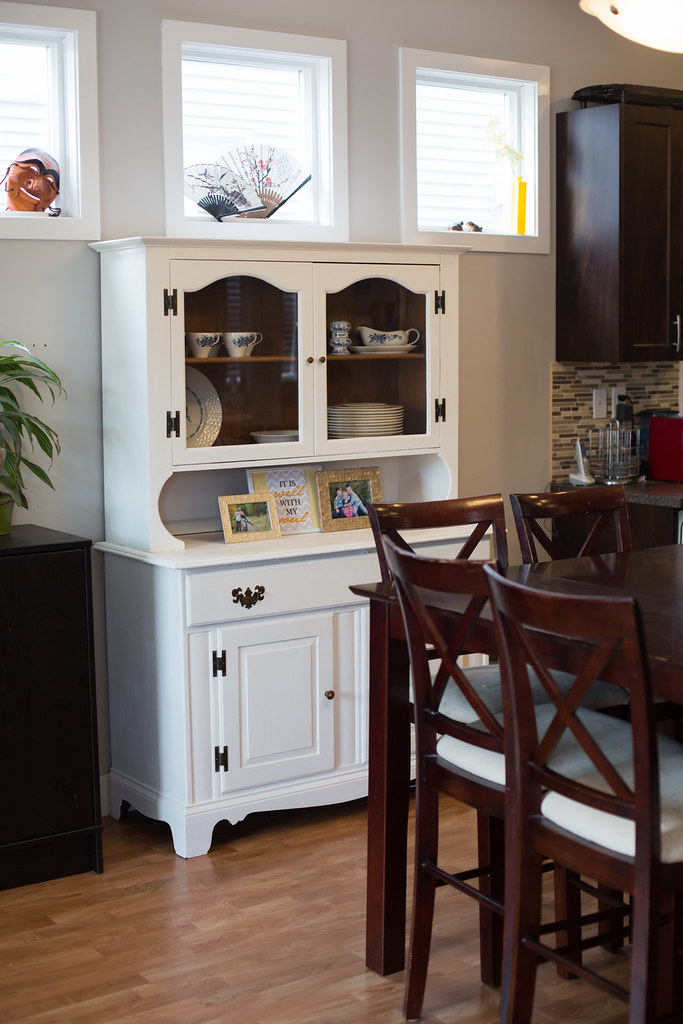
I loved the mirror but the hutch was just too small. I had been looking for a new one for about a year and finally found one! It had to be 70" or less to fit under our windows and I wanted upper shelves and glass to display my mom's `fancy' Dutch dishes as they are special to me. I found this solid maple set second hand for $70 (and sold the old one with the mirror for a total of $70!). I wanted it to be white so that it would help to lighten up our home. Also, it would match all of the trim and baseboards.
Before; the top and bottom.
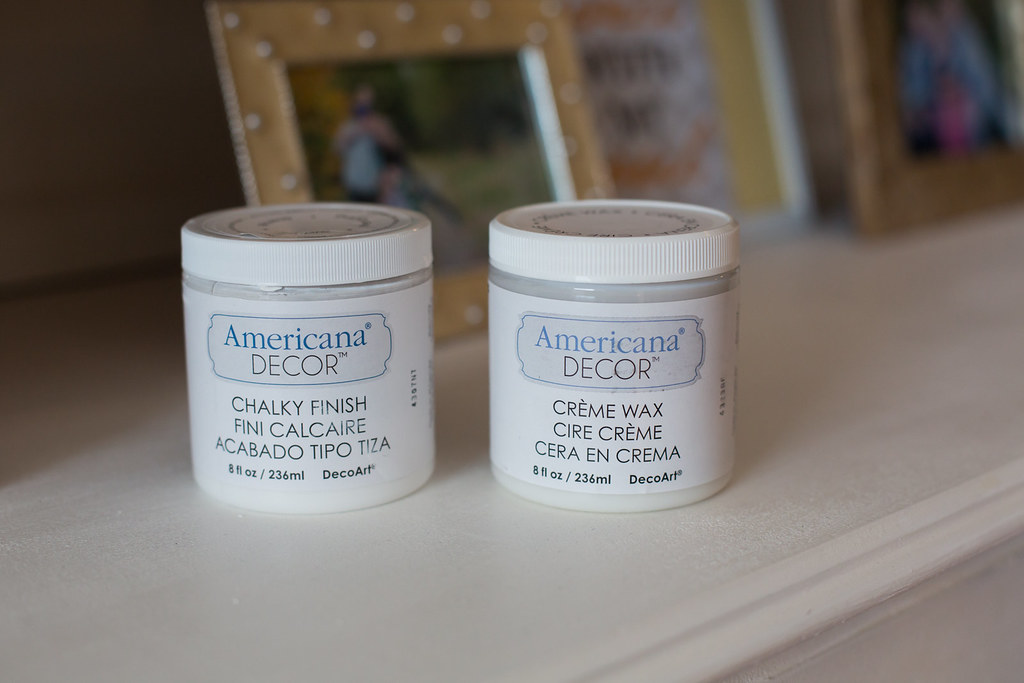
I didn't want to spend hours sanding and priming so I decided to use chalk paint to finish it. I've done smaller projects before but this was definitely the largest. Most people use Annie Sloan chalk paint and you can get it locally in Langley at The Passionate Home. I decided to do it a bit differently and used Chalky Finish Matte Paint from Michaels.
I had Gary come with me so that we could each use a 40% off coupon and I ended up having to get 5 jars of paint (each costing $10 with the coupon) over the week. All you do is wipe down the surface and then use a brush and apply the paint thinly. Let it dry for several hours and apply another coat. It did take me three coats to finish it. Then, I rubbed the wax over it using an old T-shirt. This helps to seal and protect it and give it a little shine. The wax normally costs $19.99 but again, I used a 40% off coupon.
We can now fit a lot more in the base of the hutch, I love it! And every time I glance over, all I see are my mom's dishes and the memories behind them; Christmas, Thanksgiving, Easter, the traditional post church dessert and more. Most of the small plates and bowls are gone and I'm assuming they broke after being well used by us all. Yes, I'm very sentimental!
It took me about 10 hours total to do it all. I'm done projects for a while now and thank goodness I've been working out my arms!
Have you chalk painted before? Did you use `real' chalk paint or the kind from Michaels? I'm curious what the differences would be! Also, look what I just found yesterday; a recipe on how to make your own chalk paint that looks way more affordable!
Have a great day.
Love,
Louise.
.jpg)

Great job and how nice to have your mother's dishes on display to see every day!
ReplyDeleteTHank you, Carol!
DeleteI've never heard of chalk paint before, and have always been too lazy to do a project that involves sanding and priming. Now that I know about chalk paint I'm a little more interested to try it!
ReplyDeleteI'm also to lazy to sand and prime! It's super easy, just a bit pricier.
DeleteThe new hutch looks great! Well done!
ReplyDeleteI have pinned that same recipe on the chalk paint! I have even tried it and it turned out horrible! It was so lumpy and I couldn't figure out how to get the lumps out in hand mixing, so I gave up! :p You can read about it here: http://fiery-joy.blogspot.ca/2015/01/new-ventures.html
I want to try out the chalk paint though. There is a small shop in Cloverdale that sells Annie Sloan, and another that sells FAT Paint (which is a local company from New West), but with a 40% coupon, the kind at Michael's sounds like a cheaper option to start out with.
Lori-so glad to know that the recipe is not good!!! Phew, you saved me time and $$ (although I'm sorry it didn't work for you). I have heard of FAT paint and forgot, yes, must try that maybe!
DeleteThe hutch looks awesome! Good call with the white. I'm glad you can look at your mom's dishes everyday, I'm sentimental too!
ReplyDeleteLouise, your hutch is gorgeous! I love it. I've not worked with chalkpaint...but I want to. I have a project in mind. :) You should come party with us at the Home Matters Linky Party this Friday and share your blog posts! Hope to see you there.
ReplyDelete~Lorelai
Life With Lorelai